

Create an Organization Website(Lesson 2: Your HTML Code)
S2-E2: Setting Up Your Project Files and Adding HTML Code

We are on a Journey on the process I use to create an organization website using HTML, CSS and Javascript.
If you are following from last our last lesson, you should have the design of the website you want to build. A mobile and desktop full-length website screenshots are sufficient for now. You can take the screenshot with Firefox or Microsoft Edge native screenshot tool or you can use GoFullPage screencapture extension.
For example, I might choose to recreate this website.

Full resolution screenshot(size 8MB) of NGO Shipbreaking Platform website(Visit website)
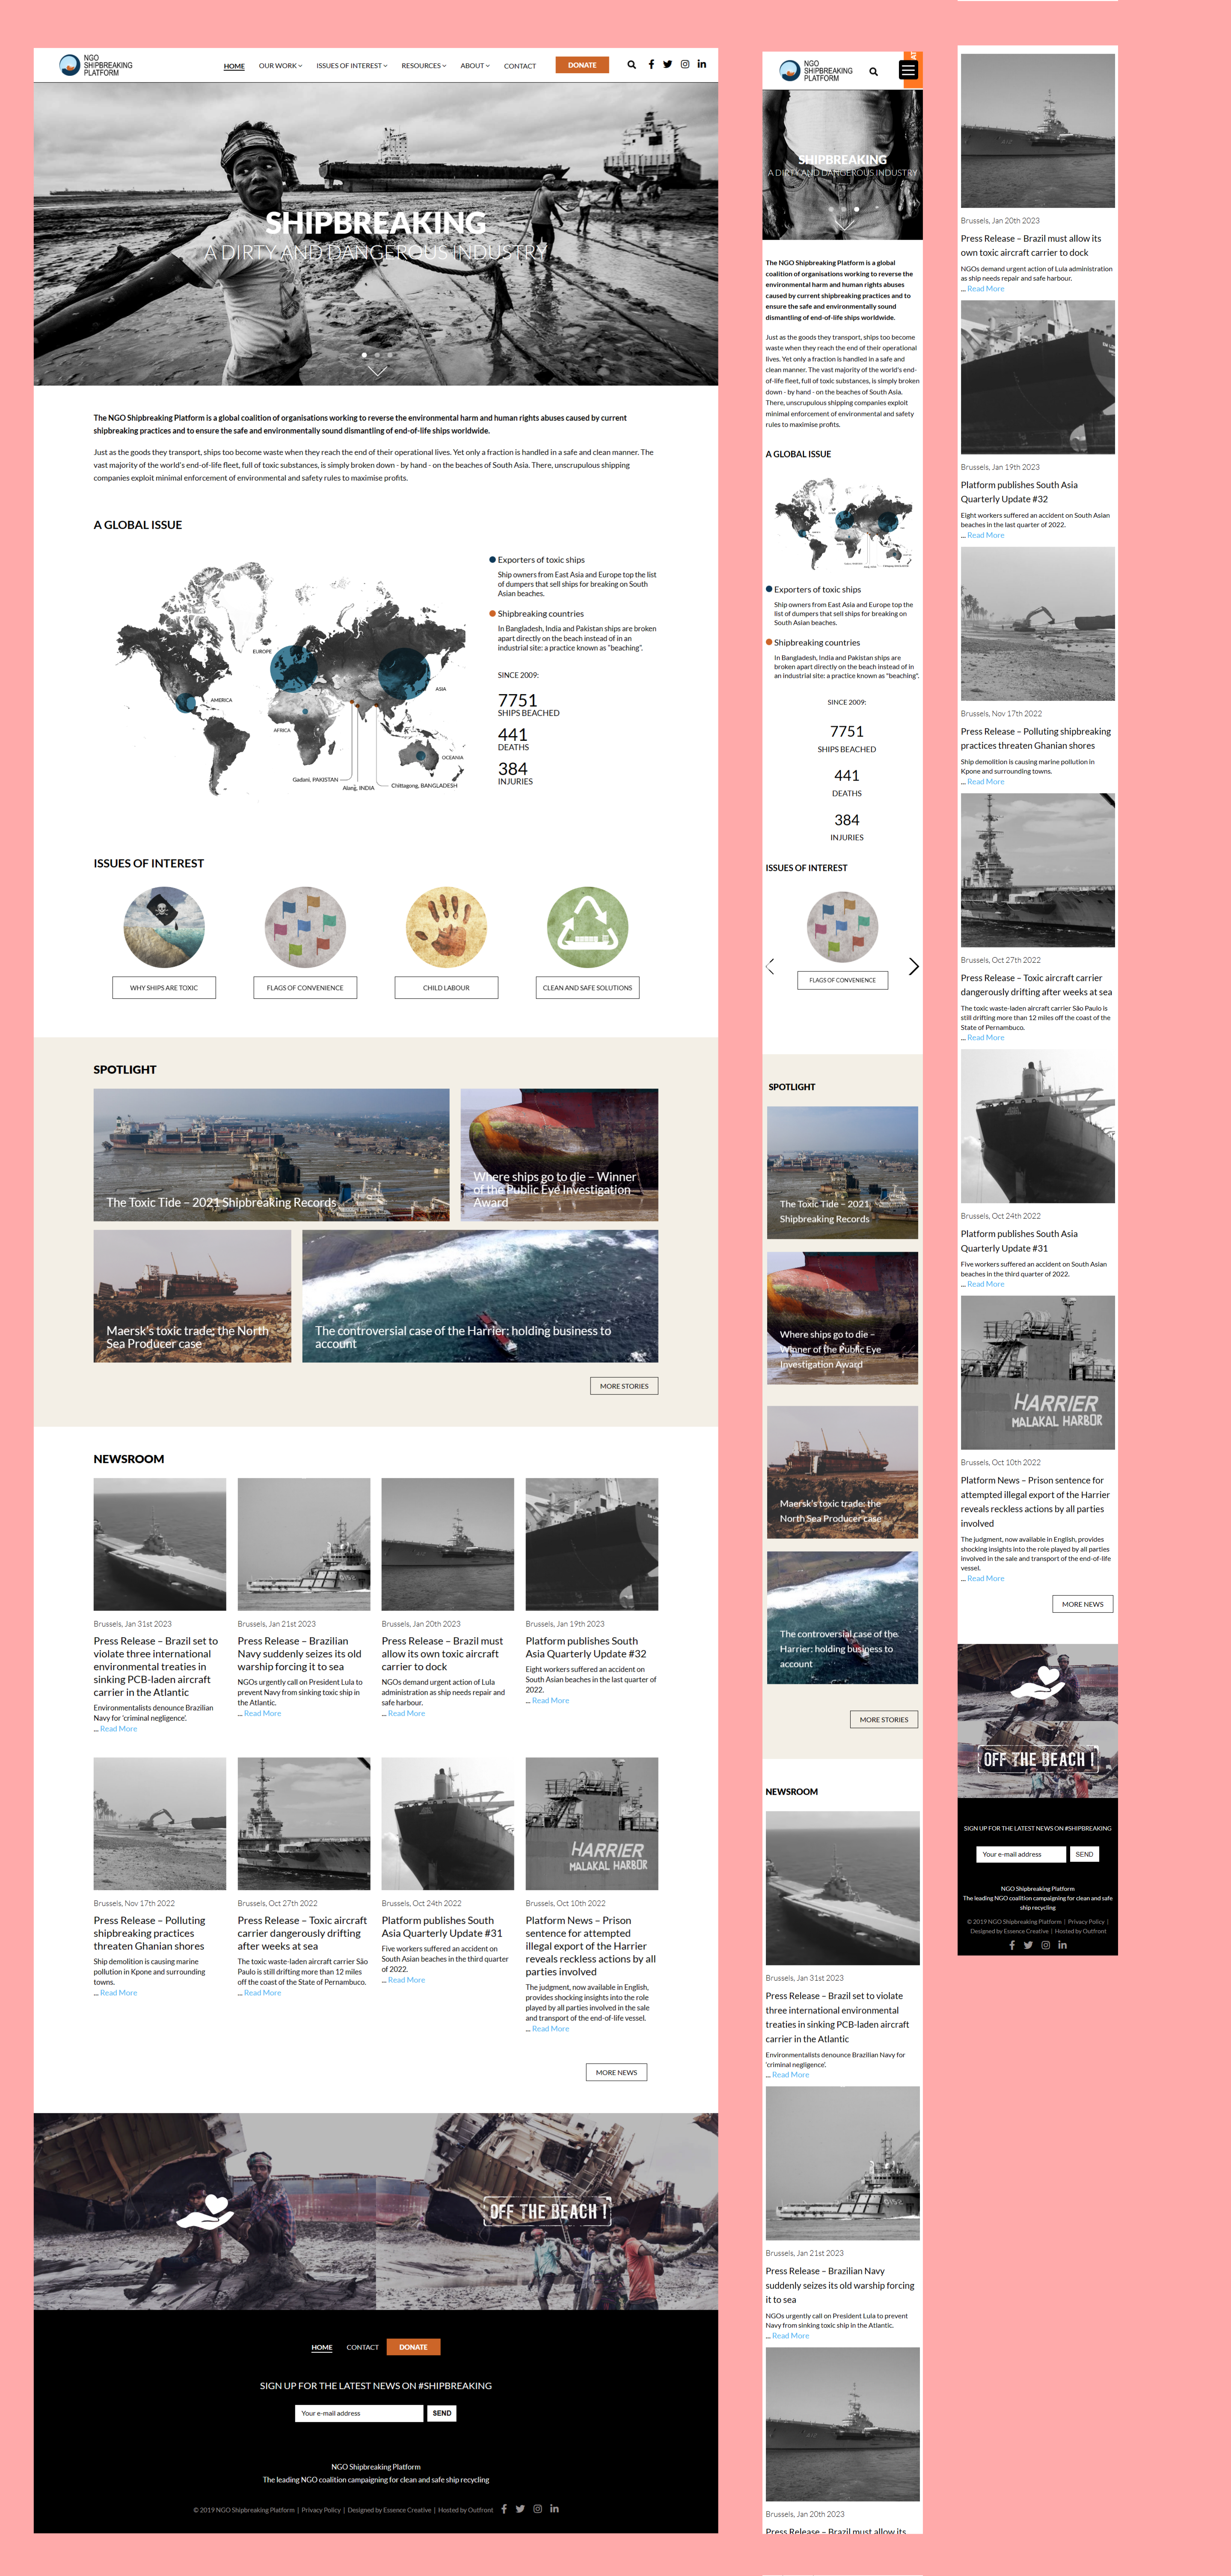
Today, we shall cover the steps I take to write my html code.
Tools I Use
Sublime Text or Visual Studio Code: to edit HTML, CSS, and Javascript files
GIMP: to edit and resize png, jpeg image files
Inkscape: to edit SVG image files
Process I Use
1. Add the basic HTML template
I usually start by creating a single HTML file and adding the basic HTML code that must be on every website.
<!DOCTYPE html>
<html>
<head>
  <meta charset="utf-8">
  <meta name="viewport" content="width=device-width">
  <title>Page Title</title>
</head>
<body>
  Hello world
</body>
</html>
If I already have the assets(videos, images, icons), I put the images in a folder called images, icons in icons folder, videos, in videos folder.
2. Breakdown web page into logical sections
Then, I take the screenshot image and proceed to breaking down the web page into different sections.
In my current website case, I will end up with the header, navbar, main, and footer sections.
3. Add HTML comment tags for all sections
In my basic HTML page, I add HTML comments that represent each of the sections above. Comments are very helpul. With proper comments, you can easily scan your code and find any section you want to work on.
4. Write the code for one section
I then pick one section and work on it.
I might start with the header. I will copy the text that will go there. Then, I add the markup around the text in a way that makes sense. I repeat the process for each and every section. If a section has assets(images, videos, icons), I add the HTML code for the assets pointing to the correct folder. If I don't have the assets, I use placeholder images.
The HTML markup I write at this stage is basic and is not perfect. Its just the first draft of how I think the markup should be organized. Infact, I always find myself improving the HTML code during the styling stage.
5. Rinse and repeat for all sections
Once I am done with one section, I pick another one until the web page is complete.
6. Repeat for all web pages
Then, I will tackle the second web page, third page, and so on.
Once I have written the markup for each page, I am ready to proceed to the next step.
Next Steps
That's it! Once you've completed these steps, you'll have the basic structure and content of your website in place. From here, you can move on to styling your site with CSS(February) and adding interactivity with JavaScript(March).
Useful Resources Links
I like listening to podcasts and so this month, I am sharing 2 free interesting podcasts episodes you can listen to.